User Guide
Step 1:
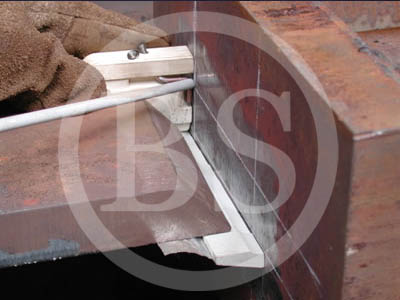
Checking and measuring the location of END TAB will be fastened on the column.
Step 2:
Fasten END TAB: welding the rod of END TAB on the column at the expected place.
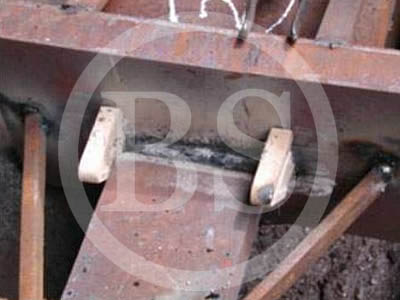
Step 3:
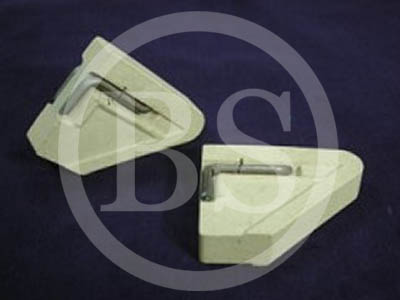
The ceramic END TAB can be removed and reassembled after the rod of END TAB was welded on the column.
Step 4:
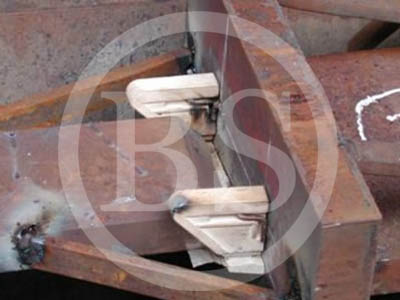
Welding starts at about 20mm away from END TAB, then move back to END TAB. That then continues welding and stop at about 20mm away from the other side of END TAB, and move back to that END TAB.
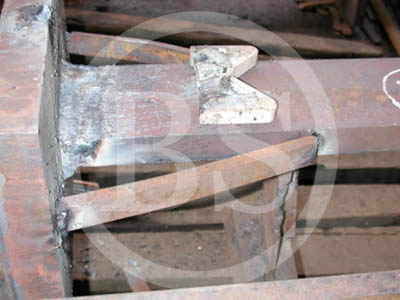
Step 5:
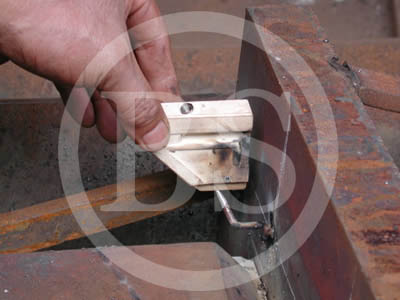
Because the END TAB fastened by the rod, welding the rod will be the last step. It shows complete and excellent bead. |